Every build, every lesson.

Code, Create and Care videos

I'm Joseph Richard, a software developer of about 30 years. On this channel I build real things with AI tools like Claude, replace paid software with $0 systems I own, and share the actual numbers, including when something flops.

Each video has its own page with a written summary, the key takeaways, chapters and the full transcript. New videos come out on YouTube.

Code · 5:42

How to Keep Your Coding Skills When AI Writes the Code

After about 30 years as a software developer, mostly in Java, I noticed I was spending more time approving AI-written code than working through the decisions behind it. This video is about comprehension debt, the gap between what your system does and what you can actually explain about it, and how to keep your skills sharp without giving up AI.

Key takeaways

  • Comprehension debt is the distance between what your code does and what you can explain about it.
  • An AI-written retry loop in a payment service could charge a customer twice, and nothing in the diff would warn you.
  • Write down what must stay true before you generate code, and spend review time on the risky parts.
  • Keep changes small, and explain each change in your own words before you approve it.
  • Keep some hands-on coding practice in your week, without AI.
Chapters (10)
  1. 0:00 Could you explain it?
  2. 0:23 The play button story
  3. 0:57 Comprehension debt
  4. 1:38 A payment retry example
  5. 2:19 Spend attention on risk
  6. 2:51 Keep changes small
  7. 3:15 Explain it in your own words
  8. 4:00 Practice without AI
  9. 4:23 Understanding across the team
  10. 4:50 Where I land

Tools: Claude

Code · 9:55

I used Claude AI to replace Linktree & Carrd, it saved me $199 per year

Linktree and Carrd were costing me $199 a year, so I replaced both with a links page I built with Claude, and I own the code. I show every step, including the parts that took more than one prompt, from the first brief in Claude to the finished page at codecreatecare.com/links with a QR code and Google Analytics 4 tracking.

Key takeaways

  • Start in Claude with your brand files and let it ask you questions before it builds anything.
  • Keep the page content in a config file so you can update links without touching the code.
  • Use the Claude agent in Antigravity to move the page onto your own site at /links.
  • Put featured content first, shape the email signup area, and give every button a real destination.
  • Measure the page with GA4 and Google Tag Manager, and check what GA4 actually receives.
Chapters (15)
  1. 0:00 Why I replaced Linktree and Carrd
  2. 0:26 Start with the brief in Claude
  3. 0:58 Answer Claude's questions
  4. 1:32 Keep content in a config file
  5. 2:04 Fix the layout in Claude
  6. 2:33 Hand off to the website
  7. 2:58 Finish the build in Antigravity
  8. 3:18 Put the page at /links
  9. 3:44 Put featured content first
  10. 4:14 Shape the signup area
  11. 4:49 Turn buttons into a links hub
  12. 5:25 Add QR code sharing
  13. 5:59 Measure the page with GA4
  14. 7:37 What GA4 actually received
  15. 8:44 Wrap-up

Tools: Claude, Antigravity, Claude in Chrome, Google Analytics 4, Google Tag Manager

Code · 4:55

Update website with Claude Agent and Antigravity — here's the before and after.

My website was missing my videos, so I had Claude Code add them. Working inside Antigravity with the development server running, I add a featured video section and give my Media Kit PDF its own page, showing the actual prompts I typed and checking each result in the browser.

Key takeaways

  • Describe the visitor's path: the content, the layout, and what each click should do.
  • Then follow that path yourself in the browser to check the result.
  • Check the layout on smaller screens, not just on your desktop.
  • Start small, then add the next piece. Claude makes changes fast, but deciding what to ask for is still your job.
Chapters (11)
  1. 0:00 Before and after: where I started
  2. 0:25 The decisions that matter
  3. 0:43 The plan and working setup
  4. 1:05 Asking for the video section
  5. 1:30 Checking the result
  6. 1:55 Testing the player and button
  7. 2:14 Adding my existing Media Kit
  8. 2:36 Requesting the new page
  9. 2:59 Following the visitor's path
  10. 3:24 Checking smaller screens
  11. 4:07 Start small, then add the next piece

Tools: Claude Code, Antigravity, PDF.js

Create · 5:14

I made Motion Graphics Inside Claude - (No After Effects)

I built a title, a counter and a progress bar from one Claude prompt, with no After Effects, and it looked perfect until I changed my voiceover by two seconds and everything drifted. This video shows what broke and the three rules I now use to keep motion graphics modular and timed to narration.

Key takeaways

  • Rule 1: record the voiceover first, then animate to it.
  • Rule 2: give Claude timing beats and timecodes instead of adjectives.
  • Rule 3: keep one idea per section, so you can change one scene without breaking the rest.
  • A scene table keeps every timing and design decision in one place.
  • This isn't auto-sync: preview with audio and check every change.
Chapters (10)
  1. 0:00 Made in Claude, then it broke
  2. 0:10 What drifted and why
  3. 0:50 Rule 1: Record first, animate second
  4. 1:16 Rule 2: Give it beats, not adjectives
  5. 1:48 Rule 3: One idea per section
  6. 2:13 The scene table
  7. 2:42 Change one scene
  8. 3:19 Capture and assemble
  9. 3:45 Example: Indiana Bears Progress
  10. 4:33 Start small

Tools: Claude, Screen recording, A basic video editor

Code · 7:10

I built my website with Claude & Antigravity—Then Made It Mine

I built this website with Claude working as an agent inside Antigravity, starting from one YouTube banner and one prompt. It worked fast, but it didn't feel like my website. I recreate the original build, then show the three human decisions that turned the generated first version into my site.

Key takeaways

  • Use an image, like your YouTube banner, as the brand reference instead of describing it in words.
  • Ask for the setup files up front: index.html, a css folder, sitemap.xml and robots.txt.
  • Decision 1: simplify by removing buttons, extra navigation and whole sections.
  • Decision 2: make it feel like the brand, down to one heading's font, weight, size and color.
  • Decision 3: use the space you already have.
Chapters (10)
  1. 0:00 It worked… but it wasn't mine
  2. 0:27 Back to Version One
  3. 0:56 Give it something to work with (one banner, one prompt)
  4. 1:27 Claude + Antigravity
  5. 1:53 Would you launch this version?
  6. 2:30 Decision #1: Simplify
  7. 3:08 Decision #2: Make it feel like the brand
  8. 3:51 Decision #3: Use the space
  9. 4:50 What did 20 years of experience add?
  10. 5:54 Would I do it again?

Tools: Claude, Antigravity

Create · 7:25

The faceless channel mistake that makes Creators quit in 90 days

The faceless channel mistake that makes creators quit is picking a niche just for views. I made that mistake and burned out before video five. This video covers the three questions I ask now and a simple 10-idea test to find a faceless niche you'll still be making videos about at month three.

Key takeaways

  • Question 1: what topic do you keep coming back to?
  • Question 2: is it useful to somebody? Finish the sentence "I help this kind of person do this specific thing."
  • Question 3: can you keep making it?
  • You can stay faceless and still show real work: your screen, your hands, the thing you made, the before and after.
  • The 10-idea test: list 10 ideas with who each is for, what they get, and what you'll show on screen. Then make one and finish it before you decide.
Chapters (9)
  1. 0:00 The faceless channel mistake
  2. 0:21 Why I went faceless
  3. 1:03 Show the work without showing your face
  4. 1:57 Question 1: What do you keep coming back to?
  5. 3:23 Question 2: Is it useful to somebody?
  6. 4:29 Question 3: Can you keep making it?
  7. 5:10 Don't let views make the call
  8. 5:58 The 10-idea test before you commit
  9. 6:54 Recap + what to watch next

Create · 6:03

How to Make Consistent AI Characters (What Actually Works)

While turning my children's book, Meet the Forest Friends, into an animated series, the same AI character kept coming back with a different face. What fixed it wasn't a better prompt but a better process. I walk through that workflow in Google Flow on one real scene, including the edit that gave me an extra bunny.

Key takeaways

  • The workflow is Define, Reference, Check.
  • Define: write a character Bible that says what must stay the same.
  • Reference: name your character and world images and reuse them as references in every scene.
  • Check: review the still image before you add motion, and again after every edit.
  • When something goes wrong, fix the smallest problem instead of regenerating the whole scene.
Chapters (10)
  1. 0:00 Same character, different result
  2. 0:22 The change that helped
  3. 1:14 Decide what must stay the same
  4. 1:38 Turn the Bible into a reference
  5. 2:05 Reuse the character and the world
  6. 2:56 Check before animating
  7. 3:21 The scene that went wrong
  8. 3:47 Fix the smallest problem
  9. 4:13 Add motion to the checked scene
  10. 4:39 What the failures taught me

Tools: Google Flow

Code · 7:42

Stop Paying $50/mo for ConvertKit: Build a $0 System Instead

Instead of paying for an email service before I had a single subscriber, I built my own email capture system for $0. I build a real signup form for my website, using a Google Sheet for storage and Google Apps Script as the backend, with AI as a coding assistant, then test it end to end the way a real visitor would.

Key takeaways

  • A Google Sheet can store your email list, and Google Apps Script can act as the backend.
  • Deploy the Apps Script as a web app and test the backend on its own before building the form.
  • Then build the website signup form and run a full end-to-end test as a visitor.
  • This isn't a Mailchimp or ConvertKit replacement. It's a simple way to capture emails somewhere you control.
  • Avoid subscription creep: solve the problem in front of you, and pay for tools when you have problems worth paying to solve.
Chapters (10)
  1. 0:00 Why pay to store my own emails?
  2. 1:13 Setting up the spreadsheet
  3. 1:38 Avoiding subscription creep
  4. 2:26 Writing the Apps Script with AI
  5. 3:23 Deploying it as a web app
  6. 4:01 Testing the backend on its own
  7. 4:32 Building the website signup form
  8. 5:27 The full end-to-end test
  9. 5:54 What I built (and what I didn't)
  10. 7:12 Solve the problem in front of you

Tools: Google Sheets, Google Apps Script

Create · 6:09

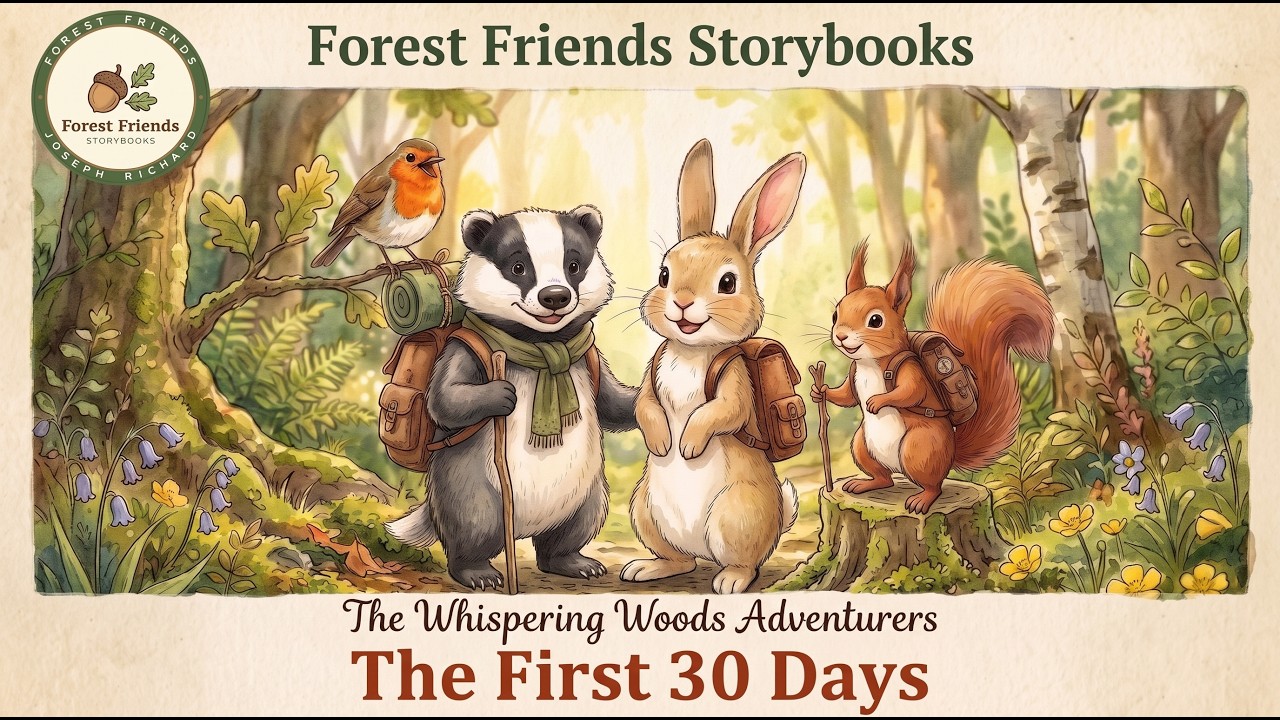
I spent 30 days on AI videos and got 71 views. Here's what I did wrong

I built a faceless AI YouTube channel from scratch in 30 days: seven videos, every tool free, $0 spent. It got 71 views. In the same 30 days, this channel, where I talked about building it, got 8,755 views. These are the real numbers and the mistakes I made before I recorded a single video.

Key takeaways

  • Day-30 scoreboard: Forest Friends Storybooks had 7 videos, 71 views, 2 subscribers and $0 earned. This channel had 8,755 views and 240 subscribers, also $0 earned.
  • Mistake 1: four formats in four uploads, so the algorithm had no idea who to show it to.
  • Mistake 2: changing something every few days, which reset the only data I had.
  • Mistake 3: picking the niche that was easy to produce instead of the one people search for.
  • The YouTube Partner Program needs 1,000 subscribers and 4,000 watch hours. 71 views is about 5.9 hours.
Chapters (9)
  1. 0:00 71 views in 30 days
  2. 0:44 Why I picked storybooks
  3. 1:28 The free tool stack (total spend: $0)
  4. 2:09 Week one: 4 videos, 6 views
  5. 3:06 Panicking with a nicer interface
  6. 3:50 The money: $0.00 and the math
  7. 4:27 What AI actually removed
  8. 4:56 Why the wrong channel won
  9. 5:24 What I didn't expect

Tools: Google Gemini, Google Flow, Google Vids, Claude

Create · 3:38

Faceless Channel, nothing but FREE AI Tools | What Works, What Doesn't

I spent 30 days building a faceless YouTube channel with nothing but free AI tools: no budget, no camera, no editing skills. This is the honest breakdown of the three tools that wasted my time, the two that earned their place, and the stack I landed on. No affiliate links and no sponsor.

Key takeaways

  • Most free tiers are built to make you hit a wall: character caps, watermarks, daily limits and generic stock footage.
  • AI auto-editors cut on awkward words and produce error-filled captions, which can be worse than editing from scratch.
  • A text-to-speech tool aimed at developers sounded more natural than ones marketed to creators, and voiced a full 8-minute script on the free tier.
  • An AI research and outlining tool works best for structuring ideas, not for writing the script.
  • A plain video editor with manual control beat tools that try to automate the cut.
Chapters (8)
  1. 0:00 The 30-day experiment
  2. 0:19 The promise I bought into
  3. 0:53 Letdown #1: The AI voice generator
  4. 1:19 Letdown #2: The AI video generator
  5. 1:43 Letdown #3: The AI auto-editor
  6. 2:06 What actually worked
  7. 2:31 The underrated outlining tool
  8. 2:48 My final 3-tool stack

Care · 7:26

I Wasted $300 on Facebook Ads, Here's What I Learned

I lost $300 on a single Meta (Facebook) ad campaign because I didn't have a system. This video shares the three-step AI workflow I built afterward to fix failing ads, aimed at creators and small business owners without a big marketing budget or an agency.

Key takeaways

  • "Just use ChatGPT" doesn't work. Think in three stages, not one prompt.
  • Step 1, Research: ask the AI to analyze the emotional pattern of your subject before asking for an ad.
  • Step 2, Asset generation: ask for 10 hooks, not one. The generic ones show you the ceiling to break through.
  • Step 3, Iteration: the first draft is the starting line. My fix was three words: "empathy and action."
  • The same workflow works for landing pages, cold emails and YouTube titles.
Chapters (9)
  1. 0:00 The $300 black hole
  2. 0:46 Why my first ads flopped
  3. 1:19 "Just use ChatGPT" doesn't work
  4. 1:44 The reframe: 3 stages, not 1 prompt
  5. 2:01 Step 1: Research
  6. 3:25 Step 2: Asset generation (why 10, not 1)
  7. 4:31 Step 3: Iteration (the 3-word fix)
  8. 5:43 What actually happened to the numbers
  9. 6:20 The takeaway: workflow, not budget

Tools: ChatGPT, Meta Ads

Create · 13:37

I Automated My Etsy Shop With AI

I opened an Etsy shop for the things I make, with nine products, a full-time job and no marketing budget. This is the raw, unedited version of how I list a product with one free AI prompt that reads the actual product file and writes an optimized title and description for Etsy, Gumroad or Shopify.

Key takeaways

  • Paste the prompt into ChatGPT or Gemini; both work, and free tiers handle it fine.
  • It asks five questions. Answer 1, 2, 3 and 5, then upload your product file for question 4.
  • It reads the real file, checks the platform's own listing requirements, and writes the title, summary and description.
  • AI image tools now make product images and thumbnails in minutes instead of Photoshop work.
  • I couldn't find a way to list a free product on Etsy, which charges $0.20 per listing, so the free prompt lives on Gumroad.
Chapters (10)
  1. 0:00 Opening an Etsy shop (terrifying)
  2. 0:42 Adding a product with the prompt
  3. 1:08 It asks 5 questions, answer 4
  4. 1:27 Uploading your product file
  5. 2:39 The optimized title and description
  6. 3:18 It looks up the platform's own requirements
  7. 4:36 Same prompt on Gumroad with Gemini
  8. 6:13 Will the free tiers do it? Mostly, yes
  9. 9:44 Generating the product image + thumbnail
  10. 12:36 Live on the store

Tools: ChatGPT, Google Gemini, Etsy, Gumroad

Create · 2:59

How I'm Making a Cartoon Without Knowing How to Draw

I can't draw and I've never taken a design class, but I made my own animated children's series, Whispering Woods, starring Bella the rabbit, Benny the badger and Sammy the squirrel. I made it with AI in Google Flow, and one trick kept the characters looking the same in every scene.

Key takeaways

  • The AI has no memory: ask it to draw your character again and you get a brand-new one.
  • Write a Style Bible covering the art style, the world, the color palette and each character, in one document.
  • Load the Style Bible into the session before you generate anything.
  • Name every character and pull them back with @ in Flow's chat, like @Bella, @Benny and @Sammy.
  • Google Flow limits clip length, so you build a scene shot by shot, and failed generations still cost credits.
Chapters (6)
  1. 0:00 "I made that." (the finished cartoon)
  2. 0:20 The honest truth: I can't draw
  3. 0:45 Meet Whispering Woods: Bella, Benny & Sammy
  4. 1:20 The Style Bible that keeps everything consistent
  5. 2:00 Bringing it to life in Google Flow
  6. 2:40 What I learned (and what you can steal)

Tools: Google Flow

When something works, I'll show you. When it breaks, I'll show you that too.

Subscribe on YouTube